


-
Por categoría de producto
-
Buscar por producto
-
Buscar por tipo de pregunta
Physical Connection
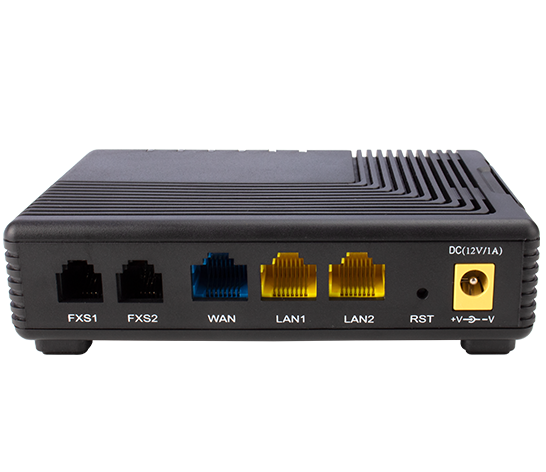
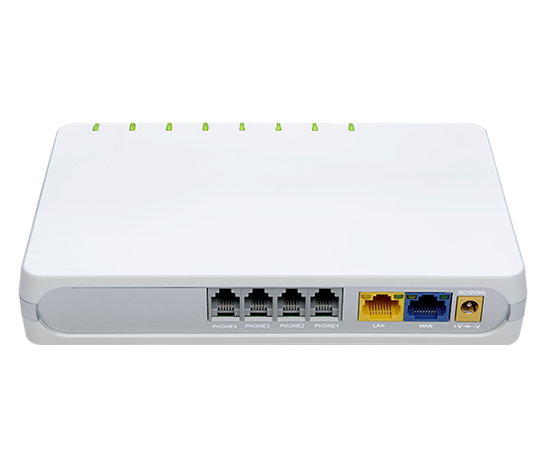
1. Connect the adapter’s WAN port to the router/switch to access the internet.
2. Connect the adapter’s FXS port or PHONE port to the fax machine with a telephone line.
3. Connect the adapter’s LAN port to the computer with an Ethernet cable.
Parameters Configuration
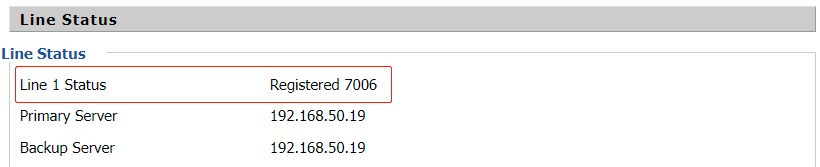
Before setting up the settings for the fax, please make sure the adapter’s SIP account is registered successfully. Follow the steps below to check.
1. Log into the adapter’s management page with its default IP address 192.168.1.1, the default login username and password are admin.
2. Go to Status > Basic > Line Status, make sure the Line Status is Registered.

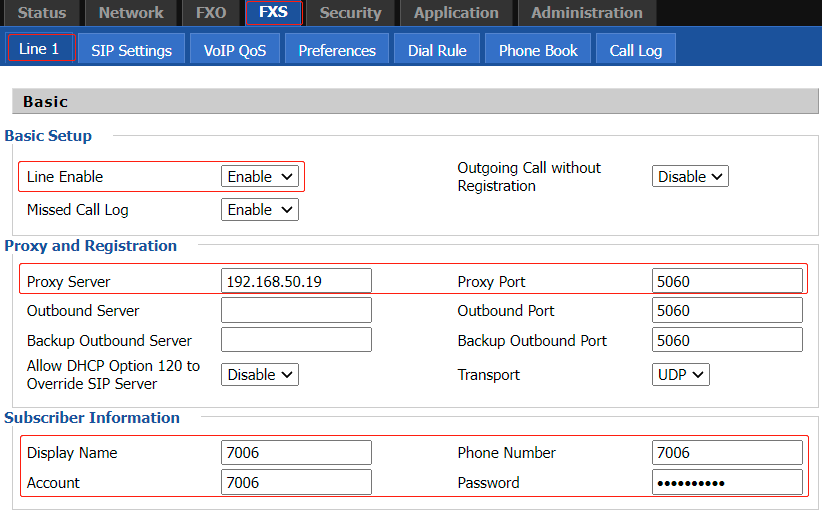
SIP Account Registration
Go to FXS > Line 1, enable the option Line Enable, enter the Proxy Server, Proxy Port, Display Name, Phone Number, Account and Password, then click on Save&Apply on the bottom of the page.
Fax Configuration
Go to FXS > Line1 > FAX Configuration, the adapter support three Fax mode include T.30, T.38 and ByPass. Keep the default configuration on this page.


Troubleshooting
When the fax machine cannot send/receive faxes normally, please follow the steps below to troubleshoot.
1. Make sure the SIP account is registered successfully.
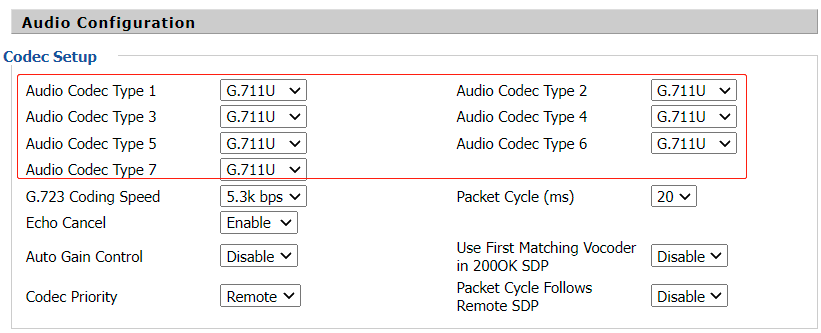
2. Change the Audio Codec to G.711U as the figure below.

3. Test with three fax modes.
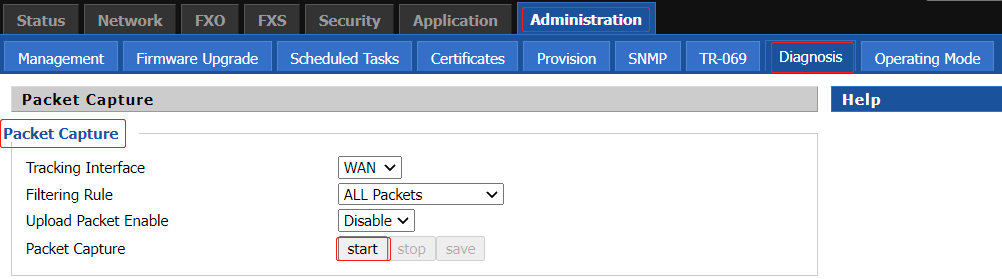
4. Capture the related packet trace and send it to the Flyingvoice technical support engineer.
|
|
 Back to list


